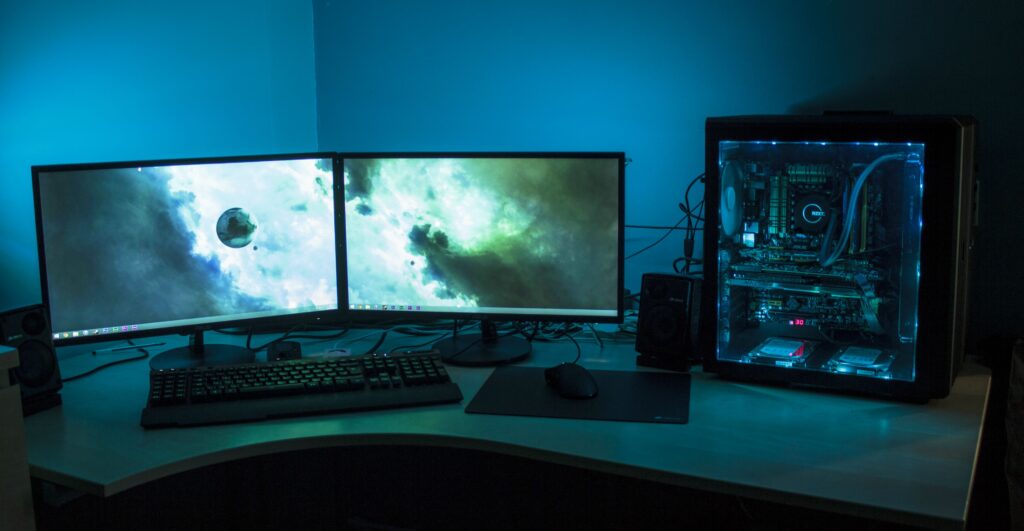
How To Turn On MSI Monitor?
MSI has long been a leading brand in the gaming monitor market. They offer a wide range of monitors that cater to a variety of needs and budgets. Some of their most popular monitors are the Gaming, CMD, and Predator series.
One key reason MSI monitors are so popular is their quality control. MSI monitors are rigorously tested before they are released to the public. This ensures that every monitor is of the highest quality and meets your specific needs.
How to Turn On MSI Monitor?
1. To turn on the MSI Monitor, first make sure that it is plugged into an outlet and your computer. Once it is plugged in, press the power button on the front of the monitor to turn it on.
2. You will then see the MSI logo appear on the screen. To change the input source, use the buttons on the side of the monitor to select which input you would like to use.
3. If you are using a PC, you can also adjust the settings for your monitor by clicking on the Windows icon in the bottom left corner of your screen and selecting “Settings.” Then go to “System” and select “Display.
What Are the Benefits of MSI?
Many people are unaware of the benefits of MSI (Multi-Monitor Support). This is a setting that can be found in the Nvidia Control Panel and can be used to improve the gaming experience. When enabled, MSI allows games to span multiple monitors. This can be used to create a larger viewing area or to provide extra information on a separate screen. There are several benefits to using MSI:
1) Increased Field of View (FOV): When gaming on a single monitor, your FOV is limited by the size of the screen. With MSI, you can increase your FOV by using multiple monitors. This gives you a wider view of the game world, allowing you to see more enemies and objects.
2) Enhanced Gaming Experience: MSI can also improve your gaming experience by providing extra information on a separate screen. You can set the main monitor to act as a second screen, displaying in-game information, game Chat and so on.
3) Save Money on Accessories: Another advantage of MSI is that you don’t have to buy an expensive mouse or keyboard to improve your gaming experience.
How Do I Identify an MSI Motherboard?
MSI motherboards are some of the most popular on the market. They come in a variety of shapes and sizes, but they all have one thing in common: they are easy to identify. MSI has a number of unique features that set their motherboards apart from the competition.
The first thing you need to know is how to turn on MSI Monitor. This is a diagnostic tool that comes pre-installed on all MSI motherboards. To access it, press the “F2” key while your computer is booting up.
Once you have MSI Monitor turned on, you can start identifying your motherboard. The first thing you’ll want to check is the model number. This can be found near the I/O ports at the back of your motherboard. The number is usually in the form of a barcode. If you have more than one device, it may be located in other places on your motherboard.
You can also check to see if your CPU is supported by MSI.
Which MSI Motherboard Is Right for Me?
There are a few MSI motherboards to choose from. All of them have different features, so it is important to know what you need before making a purchase. The first step is to determine the socket type of the motherboard. The most common sockets are Socket 1150 for Intel processors and Socket FM2+ for AMD processors.
After determining the socket type, you need to figure out what features you need. For instance, some motherboards come with built-in Wi-Fi and Bluetooth adapters, while others do not. If you need these features, make sure to select a motherboard that has them. Other things to look for include whether or not the board has on-board graphics, how many SATA ports it has, and how many PCIe slots it has.
Once you have determined what features you need, it is time to find the right motherboard.
How to Connect MSI Monitor to PC?
1. MSI monitors are popular among PC gamers for their gaming-specific features and high refresh rates. If you have an MSI monitor and want to connect it to your PC, there are a few things you need to know.
2. The first step is to determine what type of connection your MSI monitor uses. Most MSI monitors use either a VGA or HDMI connection, but some models may use DisplayPort or DVI connections.
3. Once you know the type of connection your MSI monitor uses, you need to find the corresponding port on your PC. VGA ports are typically found on older PCs, while HDMI and DisplayPort ports are more common on newer PCs. DVI ports are less common than the other three types of connections.
4. If you want to connect your MSI monitor to a PC with an HDMI port, use the HDMI-to-HDMI cable that came with your monitor.
5. If you want to connect your MSI monitor to a PC with a VGA port, use the VGA-to-HDMI cable that came with your monitor.
6. Next, connect the power cord from your monitor to an available power outlet on your PC.
7. If you want to connect your monitor to a PC with DVI port , use the DVI-to-HDMI cable that came with your monitor.
8. Finally, connect one end of the DisplayPort-to-HDMI adapter to either your PC’s HDMI port or its VGA port, and the other end to your monitor.
How to Change HDMI on MSI Monitor?
When you have an MSI monitor, there may come a time when you need to change the HDMI input. This could be for a number of reasons, such as wanting to watch a different device on your monitor or troubleshooting an issue. Luckily, it’s easy to do!
To change the HDMI input on your MSI monitor:
1. Make sure that your monitor is turned off.
2. Locate the button on the back of your monitor that says “HDMI.” It will be near the ports for your cables.
3. Press and hold the button until the indicator light turns blue, then release it.
4. Use the buttons on your remote control to select which HDMI input you want to use.
5. Press the “input” button on your remote to start the process of switching inputs.
6. Once your monitor is set to the desired input, press the “stop” button on your remote control and then press the “input” button again to stop the process.
MSI Monitor Menu Button Not Working
If you’re experiencing problems with the MSI monitor menu button not working, there are a few things you can do to troubleshoot the issue. First, try restarting your computer and your monitor. If that doesn’t work, try checking the cable connection between your computer and monitor. If everything is plugged in correctly and the problem persists, you may need to update your graphics card driver or motherboard driver. Alternatively, you could try contacting MSI customer support for help resolving the issue.
Conclusion
MSI monitors are a great choice for your next monitor purchase. They have a wide variety of models to choose from, and they all offer great features and performance. Plus, MSI monitors are affordable, so you can get a great monitor without breaking the bank. Turning on MSI monitors is a simple process that can be completed in a few minutes. By following the steps outlined in this article, you should be able to successfully turn on your MSI monitor and start using it right away.
About The Author
Neumann
Neumann is passionate about technology and loves scrutinising every detail. Whether it's exploring new gadgets or gaming on the latest consoles, he loves to be at the forefront of the latest and greatest tech. He’s always up for a challenge and loves finding new ways to do things better.